OCI Container Engine for Kubernetes (OKE) with Reserved Public IP for LoadBalancer Service using Terraform
- Posted by Martin Linxfeld
- Categories kubernetes, Infrastructure as Code, loadbalancer, Oracle Cloud Infrastructure (OCI), terraform
- Date January 25, 2023
- Comments 0 comment
- Tags Infrastructure as Code, Kubernetes on OCI, Kubernetes Service with Terraform, OCI LoadBalancer Service, OCI Networking Terraform, OCI Reserved Public IP, OKE (OCI Kubernetes Engine)
OCI Kubernetes Reserved IP Terraform is a powerful combination when deploying workloads in OCI Container Engine for Kubernetes (OKE). When running workloads in OCI Container Engine for Kubernetes (OKE), one of the most common production requirements is to expose your application through a stable public IP address.
By default, the OCI LoadBalancer service assigns ephemeral IPs that can change if you recreate the service. While this works fine for development or test environments, in production it can cause problems with DNS records, firewall rules, and client integrations.
To solve this, OCI allows us to provision a Reserved Public IP and attach it directly to a Kubernetes LoadBalancer service. In this article, I will show you how to automate this process with Terraform and Kubernetes manifests — using the same example I cover in Lesson 6 of my OCI Kubernetes Engine with Terraform/OpenTofu (2025 Edition) course.
Why use OCI Kubernetes Reserved IP Terraform?
Using OCI Kubernetes Reserved IP Terraform ensures stable networking for LoadBalancer services in OKE. Instead of relying on ephemeral IPs that may change when a service is recreated, you can reserve a static public IP and bind it directly to your Kubernetes LoadBalancer. This makes DNS management easier, simplifies firewall rules, and provides the consistency that production-grade environments require. In other words, it transforms a basic Kubernetes deployment into a reliable, enterprise-ready solution:
✅ Stable DNS records
✅ Consistent firewall rules
✅ Production-ready reliability
Step 1: Provision OKE Cluster with Terraform
The first step is to spin up the OKE cluster itself. For this, I rely on my public Terraform module, which abstracts away most of the complexity.
From oke_UPDATED.tf:
module "fk_oke" {
  source  = "github.com/mlinxfeld/terraform-oci-fk-oke"
  version = ">=1.0.0"

  compartment_id = var.compartment_id
  cluster_name   = "foggykitchen-oke"
  region         = var.region
  # other required inputs...
}
This automatically provisions the OKE control plane, node pools, and all required dependencies.
Step 2: Reserve a Public IP in the Network Layer
Before deploying a service, we need to ensure we have a Reserved Public IP available. This is defined in network_NEW.tf:
resource "oci_core_public_ip" "oke_reserved_ip" {
  compartment_id = var.compartment_id
  display_name   = "oke-reserved-ip"
  lifetime       = "RESERVED"
}
This IP will remain allocated even if the LoadBalancer is deleted and recreated. Perfect for production workloads where consistency matters.
Step 3: Define Kubernetes Service with Reserved IP
Next, we prepare the Kubernetes Service manifest. This is where we tell OCI to use the reserved IP rather than creating a new one dynamically.
From service.template.yaml:
apiVersion: v1
kind: Service
metadata:
  name: nginx-lb
  annotations:
    service.beta.kubernetes.io/oci-load-balancer-shape: "flexible"
    service.beta.kubernetes.io/oci-load-balancer-subnet1: "${subnet_ocid}"
    service.beta.kubernetes.io/oci-load-balancer-reserved-ip: "${oci_core_public_ip.oke_reserved_ip.id}"
spec:
  type: LoadBalancer
  selector:
    app: nginx
  ports:
  - port: 80
    targetPort: 80
The key annotation is:
service.beta.kubernetes.io/oci-load-balancer-reserved-ip
It makes the LoadBalancer service bind to the exact reserved IP we provisioned earlier.
Step 4: Automate Deployment with Terraform
Finally, we deploy the manifest using Terraform. This ensures everything stays consistent across environments.
From deploy_UPDATED.tf:
resource "local_file" "service_deployment" {
  content = templatefile("${path.module}/manifest/service.template.yaml" , {
      lb_shape                      = var.lb_shape
      flex_lb_min_shape             = var.flex_lb_min_shape
      flex_lb_max_shape             = var.flex_lb_max_shape
      lb_listener_port              = var.lb_listener_port
      lb_nsg                        = var.lb_nsg
      lb_nsg_id                     = var.lb_nsg ? oci_core_network_security_group.FoggyKitchenOKELBSecurityGroup[0].id : ""
      use_reserved_public_ip_for_lb = var.use_reserved_public_ip_for_lb
      reserved_public_ip_for_lb     = var.use_reserved_public_ip_for_lb ? oci_core_public_ip.FoggyKitchenReservedPublicIP[0].ip_address : ""
  })
  filename = "${path.module}/service.yaml"
}

resource "null_resource" "deploy_nginx" {
  depends_on = [
  module.fk-oke.cluster,
  module.fk-oke.node_pool,
  local_file.service_deployment]

  provisioner "local-exec" {
    command = "oci ce cluster create-kubeconfig --region ${var.region} --cluster-id ${module.fk-oke.cluster.id}"
  }

  provisioner "local-exec" {
    command = "kubectl apply -f ${local_file.service_deployment.filename}"
  }

  ## Other steps
}
Terraform dynamically injects the reserved IP OCID into the manifest before applying it to the OKE cluster.
Why this matters
Using a Reserved Public IP with OKE has several clear benefits:
✅ Stable DNS records – no need to update DNS every time the service is recreated.
✅ Simplified firewall rules – consistent IP address makes it easier to configure external access.
✅ Production-ready setup – predictable and reliable, ideal for enterprise-grade deployments.
This is a small change in configuration but makes a huge difference in real-world Kubernetes environments.
Full code & next steps
You can find the complete example in the GitHub repo:
📂 Lesson 6 – OKE with Reserved Public IP
And if you want to learn how to:
Provision OKE clusters with Terraform
Automate deployments with OpenTofu
Configure advanced networking scenarios
👉 then check out my course:
OCI Kubernetes Engine with Terraform/OpenTofu (2025 Edition)
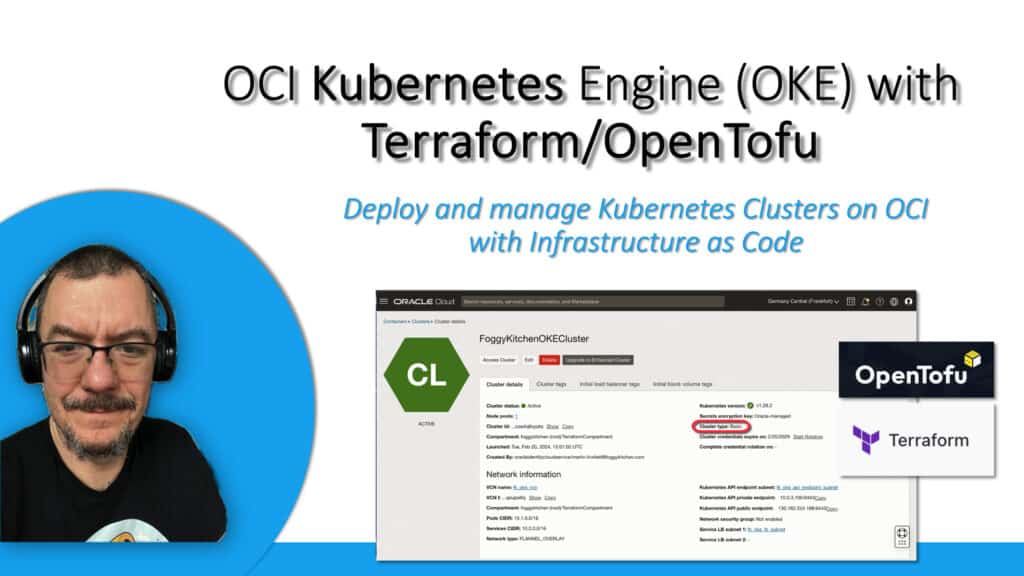
👉 Master OCI Kubernetes with Terraform/OpenTofu
Learn how to deploy OKE clusters the right way — from networking and node pools to production-grade scenarios like Reserved Public IPs for LoadBalancers, automated manifests, and advanced multicloud setups.
🔒 Lifetime • ⏱️ Self-paced • 🧪 Real labs